Metrology Checking in Body Shop and Assembly
Gap & Flush Tunnel

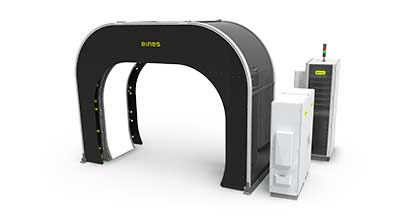
Gap and Flush Measurement Tunnel
Gap and Flush inspection between assembled automotive closures and bodies is critical in modelling a vehicle’s aerodynamic performance.
Our vision system tunnel is a simple and non-touch 3D measurement solution. It has a small footprint and needs no extra security measures.
Furthermore, it is flexible to the customer’s needs, as any vehicle variant can be configurated anytime and adapts to the required cycle time.
- More than 100 measurements
- Can measure in different materials
- Simple and Sustainable
How is the system calibrated?

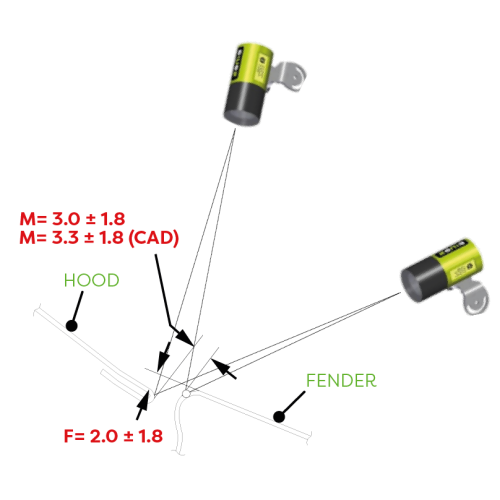
Calibrated camera pairs are used to take stereo pictures and recognize the surface to analyze

BIG DATA in Automotive
The vision system provides immediate feedback in a user-friendly interface of different devices such as computers, mobile phones, smart watches and more. It also has integrated reporting by collecting the data, which is key to analysing the performance.
Gap and Flush Measurement Tunnel additions:
Component Check + Damage Detection
Less hardware, more capabilities, more cheaper
Can be performed with the same cameras to control vehicle badges, wheel type and security nuts, chrome / rubber finishings, moulding colours, plate foam, traceability/legal labels, etc.
In Body in White and Final Assembly can be performed with an extra zebra light arch that, thanks to Artificial Intelligence Algorythm, is able to learn different types of defects.


