All-in-One Tunnel Architecture
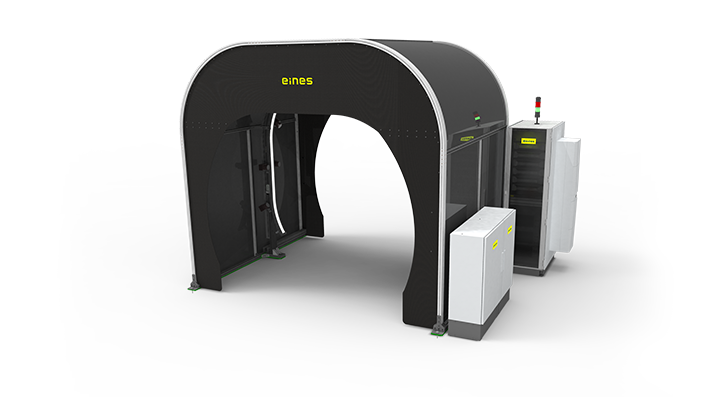
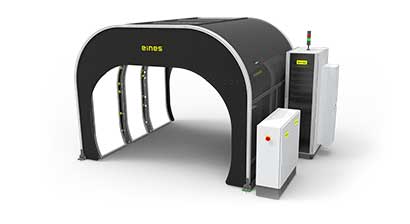
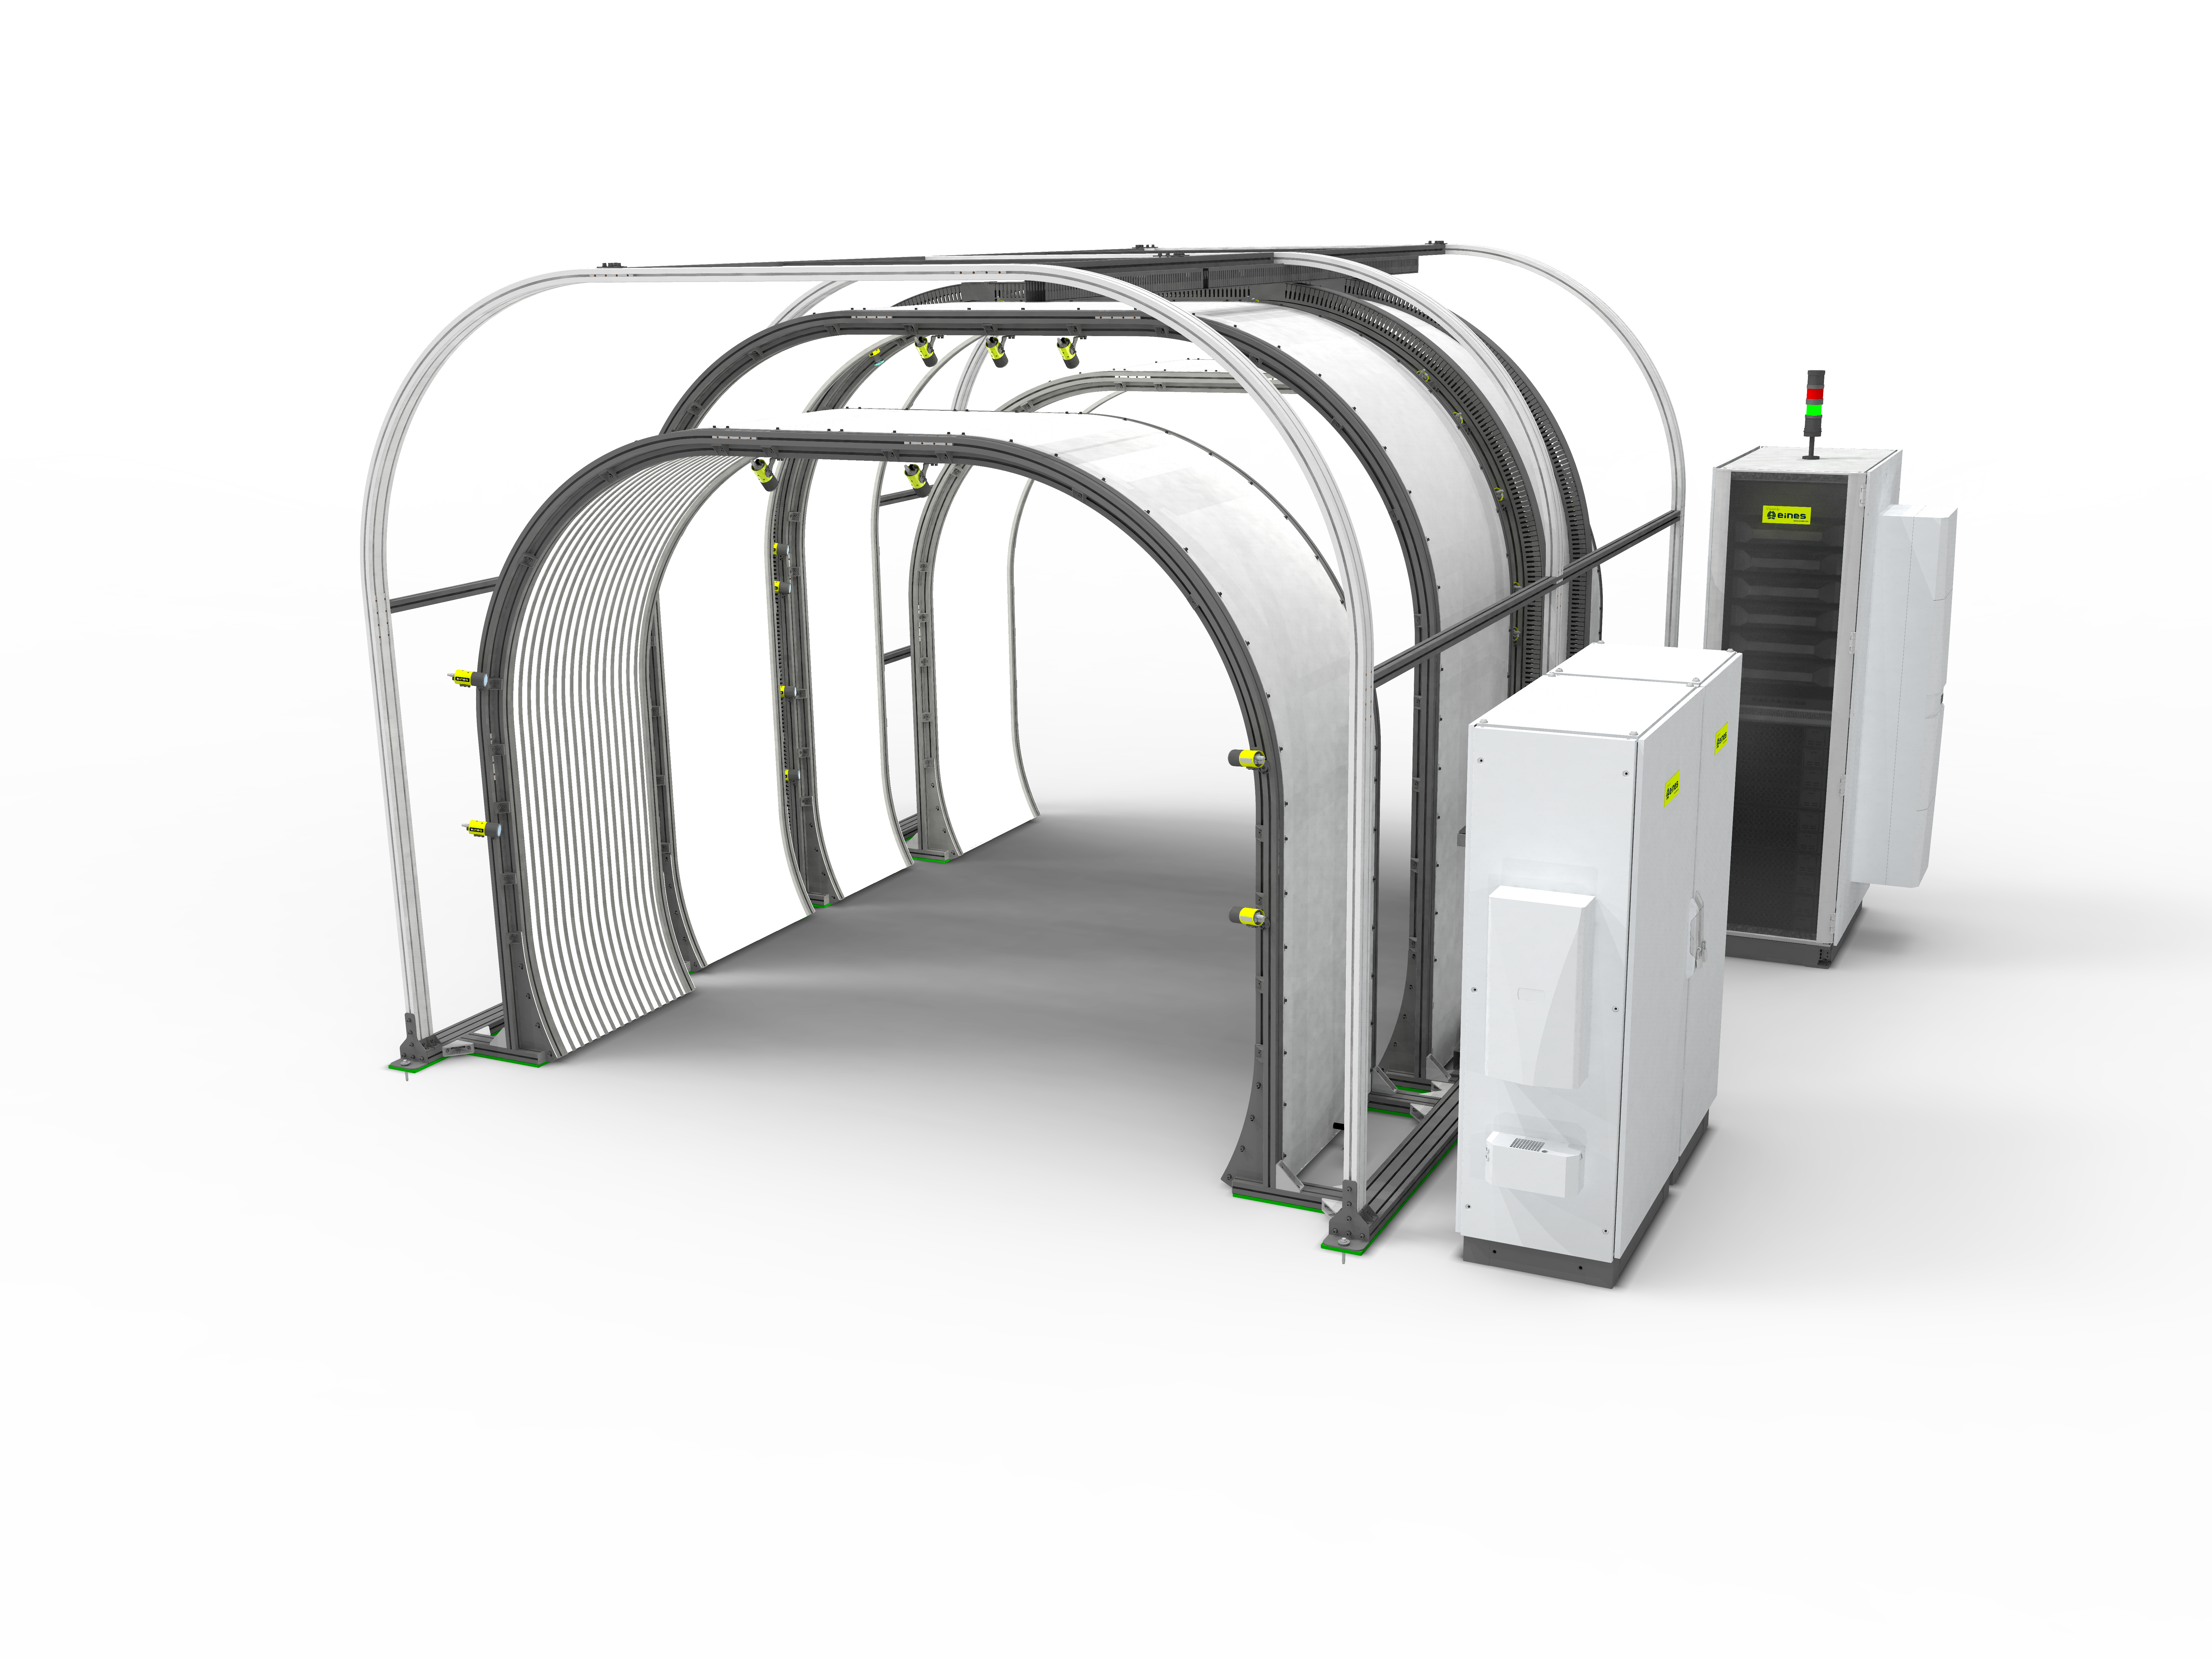
Our vision system tunnel is the only one that can perform a full quality control scan in the finished vehicle with high accuracy.
Any vehicle variant can be configured anytime and adapts to the required cycle time.
- More than 100 measurements
- Can measure in different materials
- Can learn different types of defects
- Three functionalities in one solution
- Simple and Sustainable
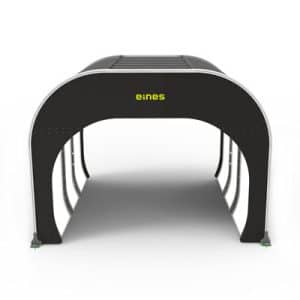
It performs dimensional check in unlimited number of sections of different materials.
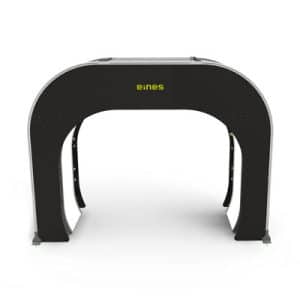
Component Check Tunnel
It can check presence or absence of components, colours, labels and more.
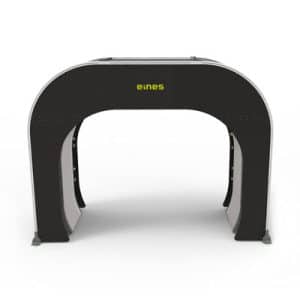
Surface damage such as dents and scratches can be detected in the finished vehicle.
Discover the Future of Automotive Quality Control with our ALL-IN-ONE Inspection Tunnel!
This advanced system combines three essential inspections in one seamless process. Watch this 1:30 highlight reel to get a glimpse of the full demonstration.
- Is the logo correctly assembled?
- Is the proper material? and colour?
- Are the panels correctly aligned?
- Is there any damage to the surface?
Want to see the entire 15-minute walkthrough? Request access to the complete video and learn how this technology can revolutionize your production line!
Functions
Gap and Flush Measurement
Surface Damage Inspection
Component Inspection
All in One Quality Control Inspection
100% Inline Measurement
Data Analysis and Storage
Traceability and Executable Actions
Reporting and Big Data
Inspection + Big Data in Automotive
After the inspections, the vision system provides immediate feedback in a user-friendly interface of different devices such as computers, mobile phones, smart watches and more. It also has integrated reporting by collecting the data, which is key to analysing the performance.
Don't you believe it?


Component Check and Damage Detection...
hardware is reused in order to simplify the All-in-One System- Component check can be performed with the same cameras as the Damage Inspection tunnel to control vehicle badges, wheel type and security nuts, chrome / rubber finishings, moulding colours, plate foam, traceability/legal labels, etc…
- Damage Inspection in Final Assembly can be performed with an extra zebra light arch that, thanks to Artificial Intelligence Algorithm, is able to learn different types of defects.
Component Check + Damage Inspector Tunnel
Will you have assistance?
We install and we give support afterwardsRemote Assistance 24 Hours
We will adapt to your needs at any place in the world thanks to our assistance team.
Our Customer Success Service is focused on promoting a proactive work culture in partnership with our customers. The purpose is to help you as a customer and end user to get more value out of your purchase and stay in close contact with us to share feedback about the installation.
