Quality and throughput have always guided manufacturers to invest in new processes and technology. The influx of advanced Industry 4.0 technology offers manufacturing leaders many choices—like 3D printing, artificial intelligence, and machine learning.
Machine Learning (ML) is gaining popularity across various industries and applications, such as automotive, aerospace, medical, and electronics. It exceeds operational needs and provides tangible benefits such as effective instantaneous inspections and traceability.
The design of Eines Vision System’s digital software technology is explicitly for part-in-motion quality inspections. Through its advanced machine learning algorithms, Eines can intelligently perform part confirmations, calculations, and simulations of measurements. At the same time, the inspected surface remains moving, like parts that reside on a conveyor line, lifts, automated guided vehicles, and assembly belts.
There are three main types of error-proofing environments to apply advanced machine learning vision quality inspections common to automotive production: stop station scanning, place part-in-fixture scanning, and part-in-motion dynamic scanning measurements. Of the three, part-in-motion dynamic inspection delivers the most benefits, expanding past typical basic visual inspection to dynamic tracking of parts for critical measurements.
In final assembly vehicle manufacturing, there are three preeminent applications using best-practice vision technology for dynamic part-in-motion measurements: gap n flush measurements, surface coatings integrity inspections, and part present validation verifications.
Gap N Flush Measurements (sometimes referred to as fit n finish): gap n flush is the dimensional relationship between mating parts such as doors, trunks, fenders, liftgate, and hoods. Precise measurement is critical for line fitters performing operational alignment to reduce wind noise and improve vehicle aesthetics.
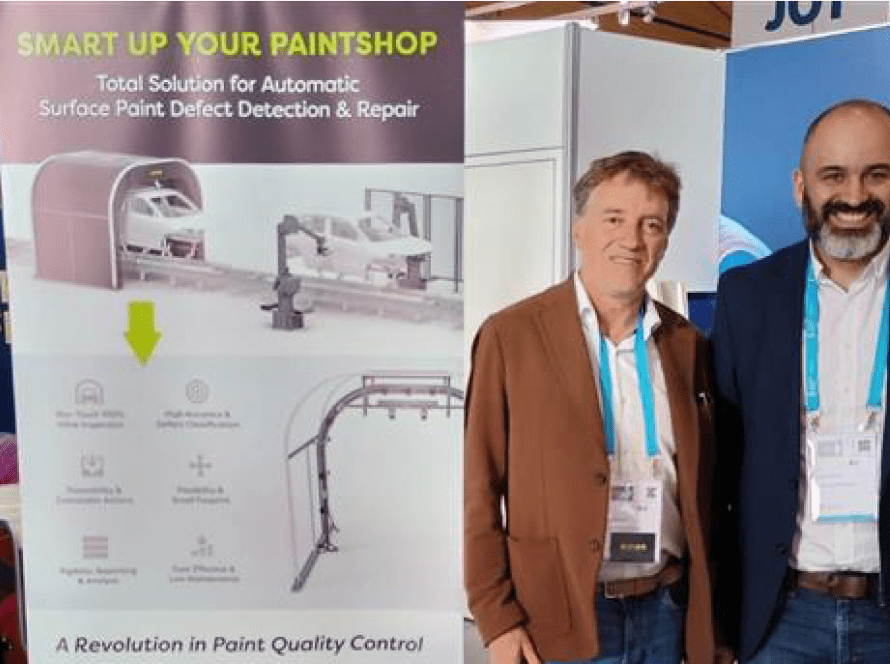
Surface/Coatings Inspections: automotive manufacturers have only seconds to inspect surface conditions for splits, cracks, scratches, dents, dirt, orange peel, fishers, and blisters. Once in the showroom, customers have hours to inspect surface integrity. Surface imperfections can cause future warranty issues; therefore, detection data metrics needs to be instant to perform sanding and polishing before final vehicle acceptance.
Present Verification: Commonly known as a Poka-yoke process designed to avoid manufacturing mistakes. Essential to best practices, advanced vision technology can detect missing clips, nuts, emblems, badges, match vehicle style, mirrors, bumper features, or color validation with customer orders.
Providing the line technicians’ actionable data analytics generated from quality inspection metrics. The data dashboard consists of defects displayed within multiple digital visual feedback interfaces such as tablet-based, wearable, and fixed monitor-based displays.
Some factories attempt to test and simulate process designs with digital twin models. The digital twin illustrates dynamic simulations of detections, what an operation would look like and how a worker should perform it. It allows for a complete look at processes and traceability to identify specific problems within the operation. It is also deployable on an enterprise level, easily interfacing with common cloud platforms to create custom dashboards and analytics.
Successful manufacturing processes can make every second and every penny count in their operations. Tunnel-style inspection systems harness the production line’s speed and rapid data transfer to provide a minimal maintenance high throughput system. This system reduces the risk of downtime while operating very self-sufficient when integrated into existing plant power and communication networks.
For many years, part-in-motion dimensional control inspections have challenged the quality metrics for high production automotive operations. Eines’ advanced vision software configured to the customer’s specifications deployed through tunnel-style systems solves the problem of accurate error proofing for part-in-motion inspections.
To find out more about dynamic digital inspection systems, please contact our team or request an application assessment.


