Automakers are facing significant challenges in the final stages of Automotive Quality Control production, where attention is crucial.
1. Common Defects in Automotive FINAL ASSEMBLY
A recent study highlights that nearly 30% of production defects stem from incorrect component specifications and alignment errors. These issues not only cause costly rework and production delays but also pose serious risks to vehicle performance and safety. The implications are clear: misaligned components can lead to increased costs and, more importantly, dissatisfied customers.
In related news, about 25% of vehicles on the production line encounter problems with gaps and flushes between panels. These seemingly minor misalignments can have a substantial impact, disrupting the vehicle’s aerodynamic efficiency and compromising its visual appeal. Such defects don’t just affect performance—they also influence how customers perceive the quality of their vehicles.
Finally, damage inspection remains a critical concern. Reports indicate that approximately 15% of vehicles show signs of undetected damage during transport or assembly. This oversight could lead to serious safety issues and affect the vehicle’s overall durability if not addressed in time.
These findings underscore the importance of rigorous quality control in automotive manufacturing, as even the smallest defects can have far-reaching consequences for both manufacturers and consumers. Stay tuned as we continue to monitor these developments in the industry.
2. The Eines All-in-One Tunnel: A Comprehensive Solution
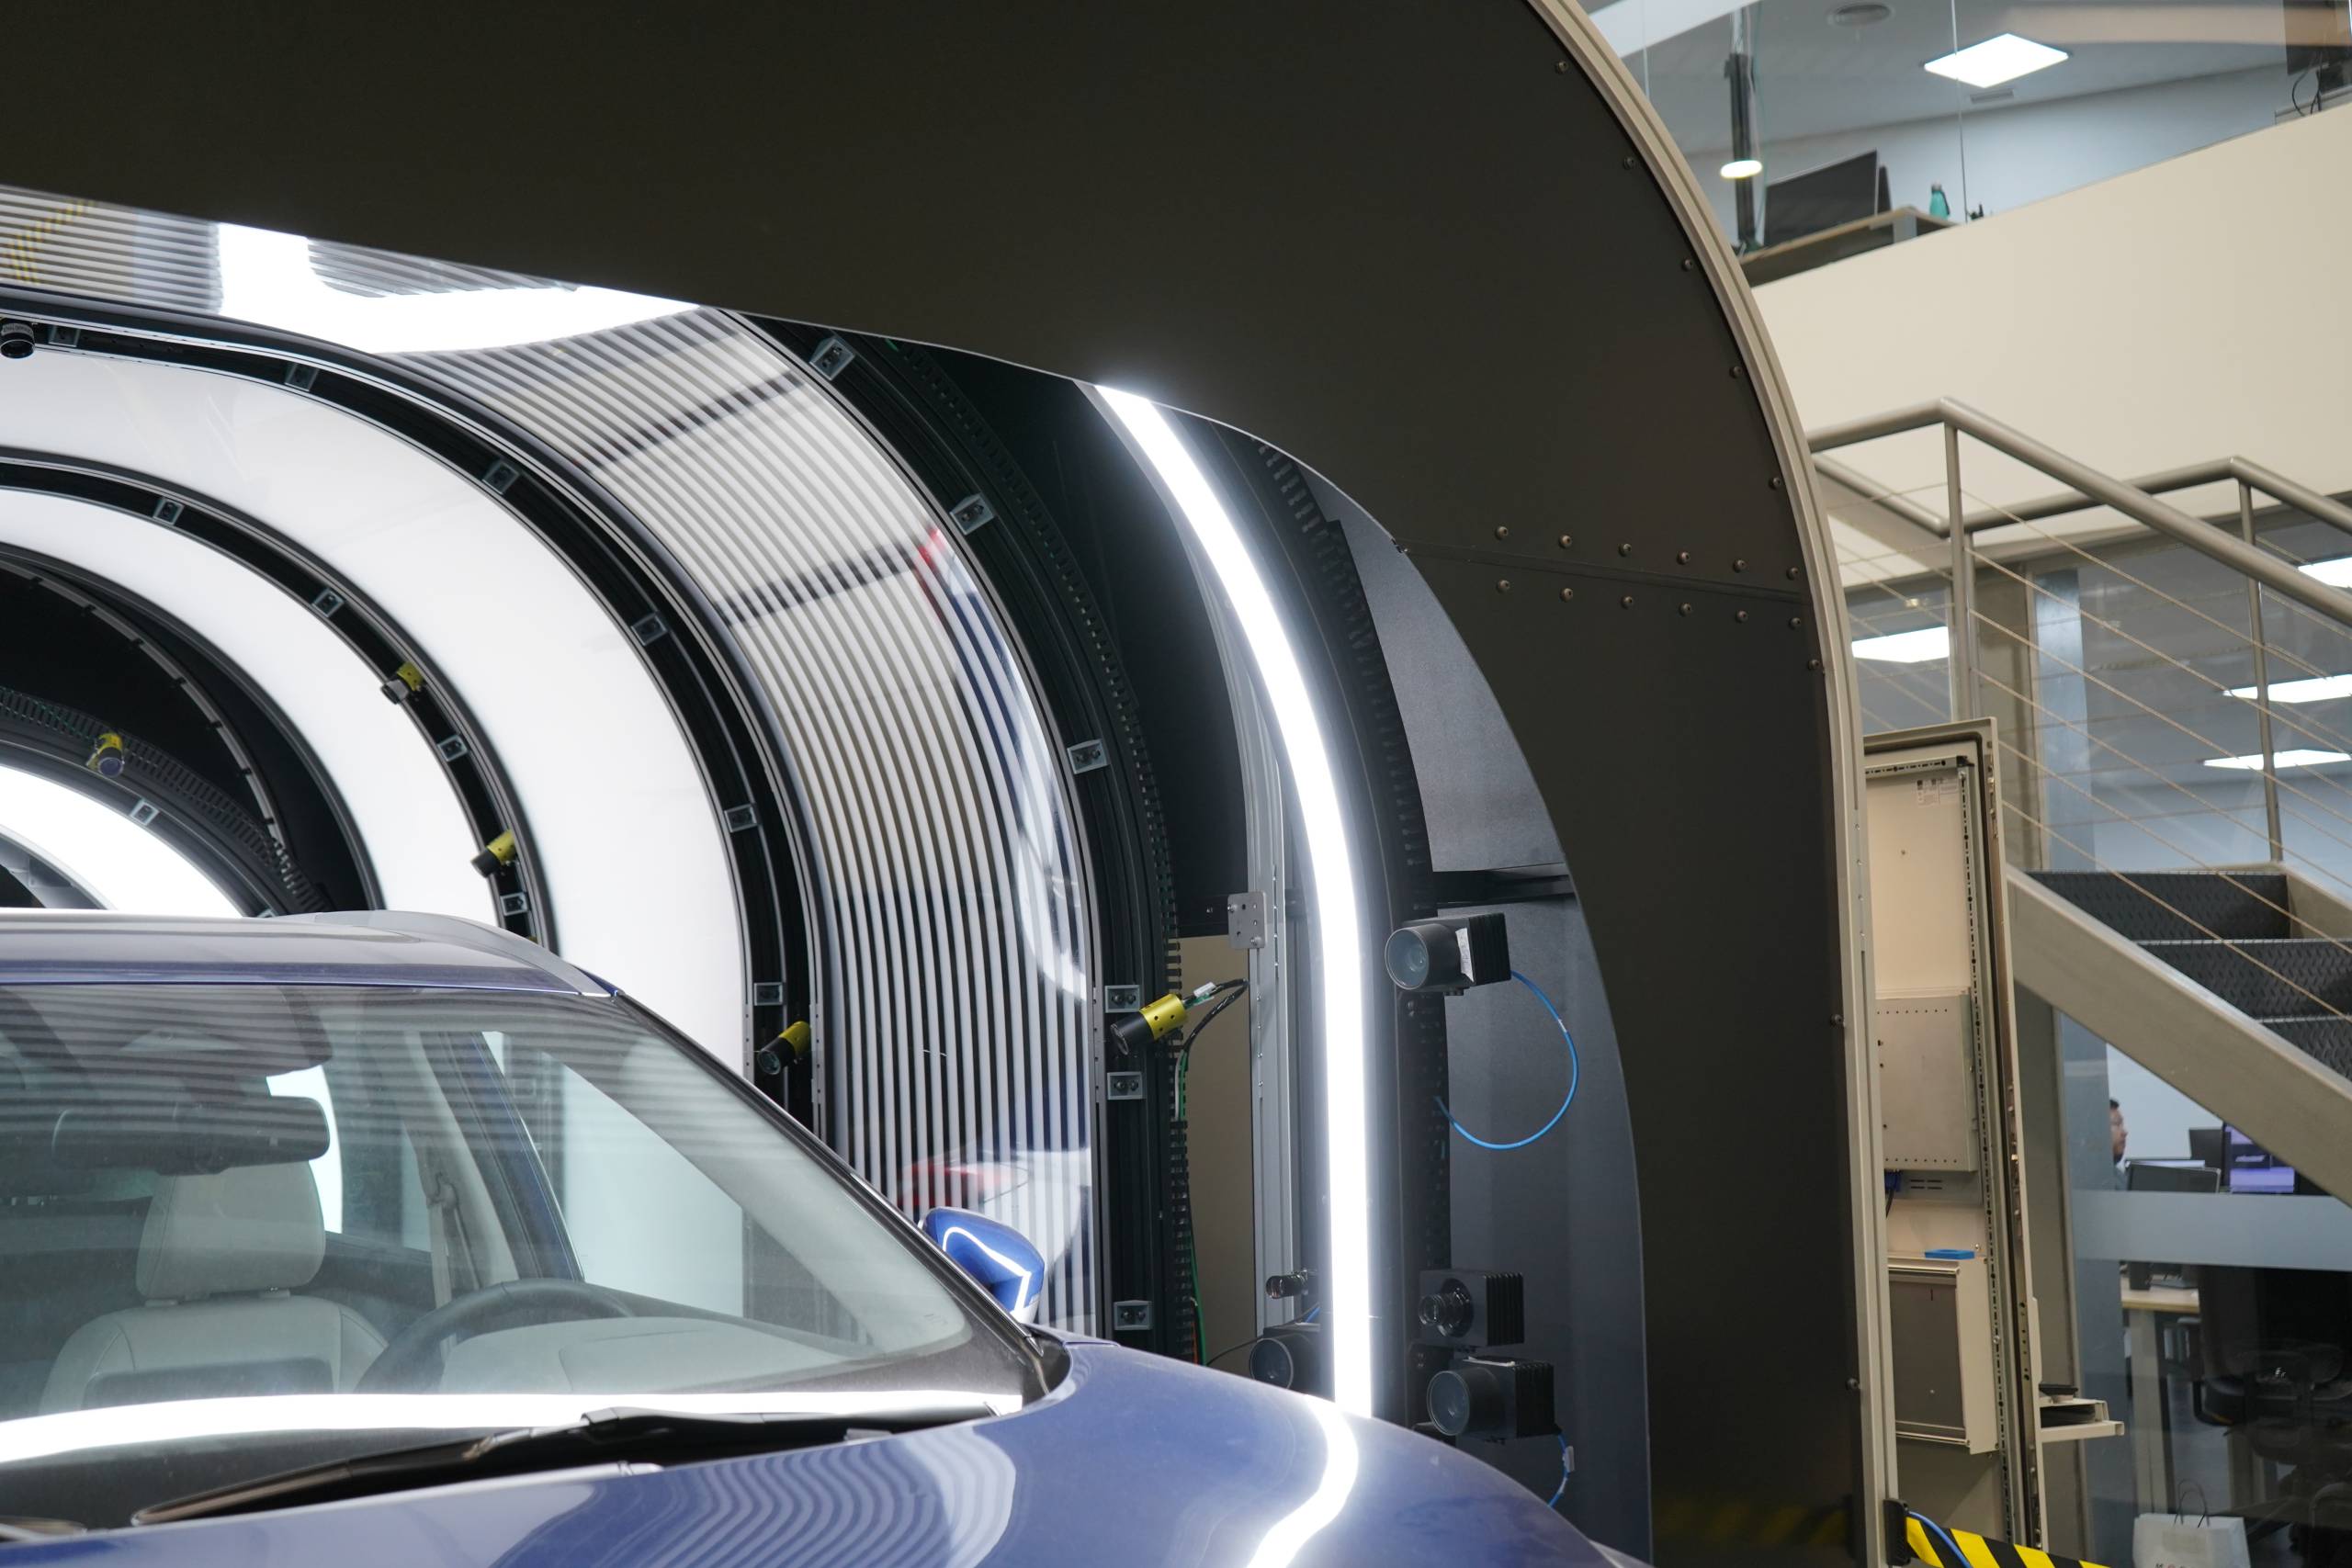
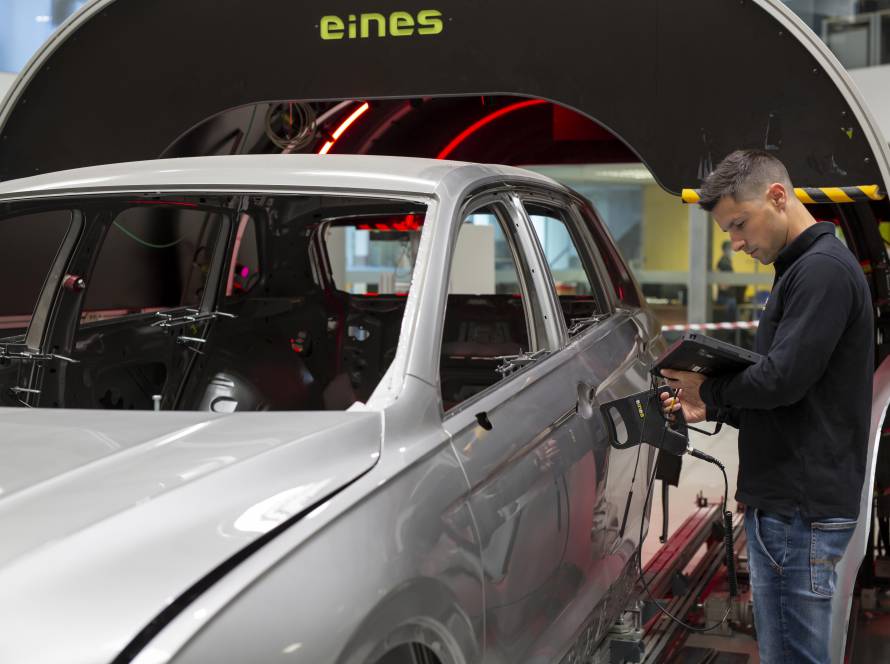
Eines introduces the All-in-One Tunnel, an advanced inspection system that integrates three crucial functionalities into one streamlined solution, enhancing quality control at the final assembly stage.
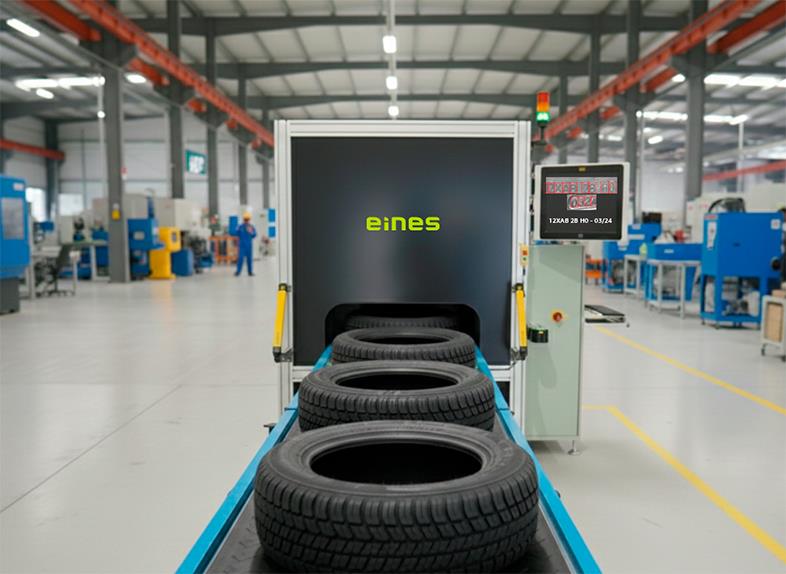
The first function, Specification and Component Checks, ensures precise alignment of vehicle components like wheels, bumpers, and spoilers. Advanced Optical Character Recognition (OCR) and part-to-spec analysis guarantee accurate measurement and tracking, reducing rework and improving overall vehicle quality.
The Gap & Flush Metrology function uses specular light and stereo vision to continuously measure gaps and flushes without halting production. This ensures high-quality assembly, supports aerodynamic assessments, and allows for parallelism and symmetry evaluations.
For Damage Inspection, the system employs zebra light reflection and deep learning to detect and classify surface defects, such as scratches and dents, with high precision. This enhances defect detection and integrates seamlessly into existing workflows for greater efficiency.
Key features include Non-Touch 100% Inline Inspection, ensuring safety and accuracy, and a Compact Design that adapts to various vehicle models and production lines. The system is Cost-Effective and Low Maintenance, reducing operational costs, while its Comprehensive Data Analysis supports continuous improvement.
In summary, the Eines All-in-One Tunnel is a game-changer for vehicle inspection, delivering unmatched accuracy, efficiency, and precision in a single, integrated solution.
3.Conclusion
The Eines All-in-One Tunnel represents a major leap forward in automotive quality control. By integrating specification checks, gap and flush metrology, and damage inspection into a single system, it effectively addresses common production defects. This advanced solution enhances safety, accuracy, and efficiency, positioning Eines as a leader in automated inspection technology. Adopting the All-in-One Tunnel will help manufacturers achieve superior quality control, reduce defects, and ensure high levels of customer satisfaction.
For more information on how Eines’ All-in-One Tunnel can transform your quality control processes, contact us today.


