Dimensional Checking for Body Shop and final Assembly
Gap & Flush Hand-Held Device
Dimensional Measurement in any Section
Our system measures with high accuracy and repeatability. Thanks to its patented material, it can perform without surface damage.
Furthermore, it can take measurements between the same or different coloured elements, such as headlights zone, cockpits and side panels, airbags and steering wheels, etc.
Its flexibility allows customising it and choosing between a wide variety of analysis functions.
- Can measure in different materials
- Flexibility and portable
- High Accuracy
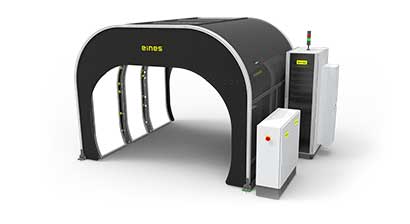
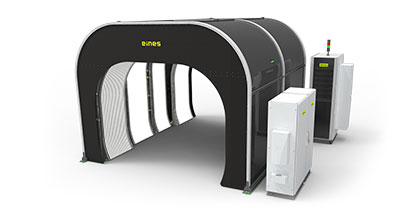
Merged Process with 3D Metrology Tunnel
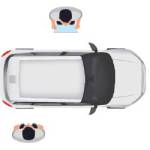
1. Measurement
This Automated tunnel measures all the sections
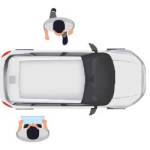
2. Repair
Operators fix error points
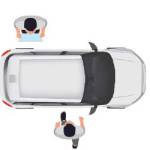
3. Final Check
Re-check the fixed error points with handheld device to ensure they are correct now
Offline Repair
Operators fix any open points
Functions
Gap and Flush Measurement
Reporting and Big Data
Traceability & Executable Actions
Combinable with Gap and flush Tunnel
SYSTEM CAPABILITIES
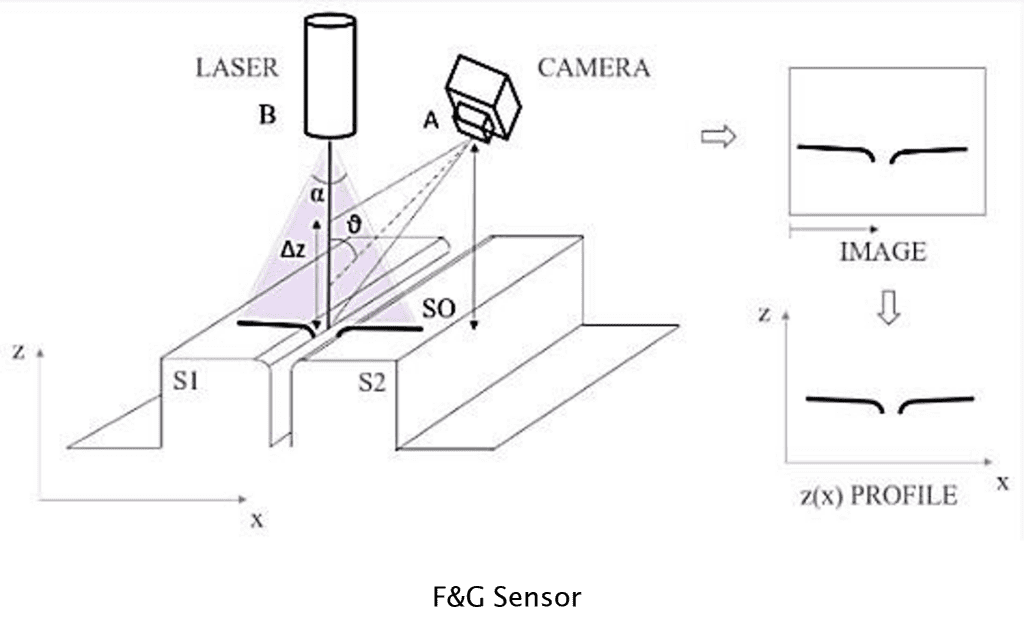
Our EH2 technology is capable of measuring depth and width on many types of surfaces including trasnslucent ones such as headlights or glass.
Also capable os measuring materials with different colors thanks to its blue laser that measures and evaluates the depth and the width of the specifications.
And advanced perfilometer with the possibility od being configures with our metrology tunnel and working in synergy to obtain the highest possible performance.
Automotive Technology
Our device service combines advanced laser triangulation technology with a powerful Windows Roughed Tablet PC. The material does not need to be changed and has an ergonomic design and user-friendly interface.


