To keep pace with boosting competition, the automotive industry has invested large sums in research and development of technologies like laser profiling. Using non-contact measurement, laser profiling guarantees that components appease their designed specifications. It allows manufacturers to evaluate important aspects such as body panels, safety features, and assembly levels, making them less prone to errors and increasing productivity.
How Laser Profiling Works
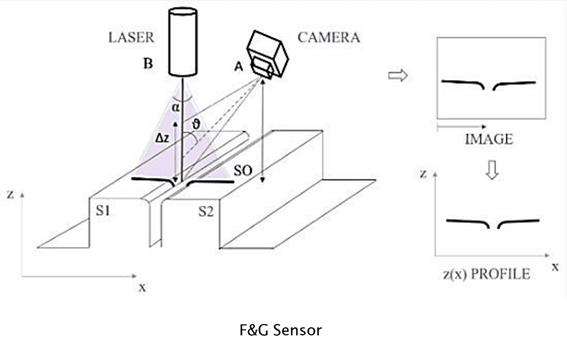
During laser profiling, laser beams are projected on a surface and are used to collect 3D data of from millions of points to form a profile of an object under inspection. This information is used to analyse hard-to-measure geometric shapes, find surface imperfections, and check whether the parts are assembled accurately. In automotive manufacturing, accuracy matters the most for all the processes, especially for measuring gaps and flushness, where the placement of parts such as doors, engine hoods and van sections has to be accurately correct. A slight shift from perfection in such operations can affect the as-designed airflow over the vehicle, the vehicle outlook and even safety.
The competitive nature of the automotive industry means that automobile manufacturers are expected to produce more powerful cars in less time and costs.
Laser profilers work at the micrometre level. They can eliminate variance in any work in progress at the earliest stage to prevent expensive rework and waste.

Significance in the Automotive Manufacturing Sector
The competitive nature of the automotive industry means that automobile manufacturers are expected to produce more powerful cars in less time and costs.
Laser profilers work at the micrometre level. They can eliminate variance in any work in progress at the earliest stage to prevent expensive rework and waste.
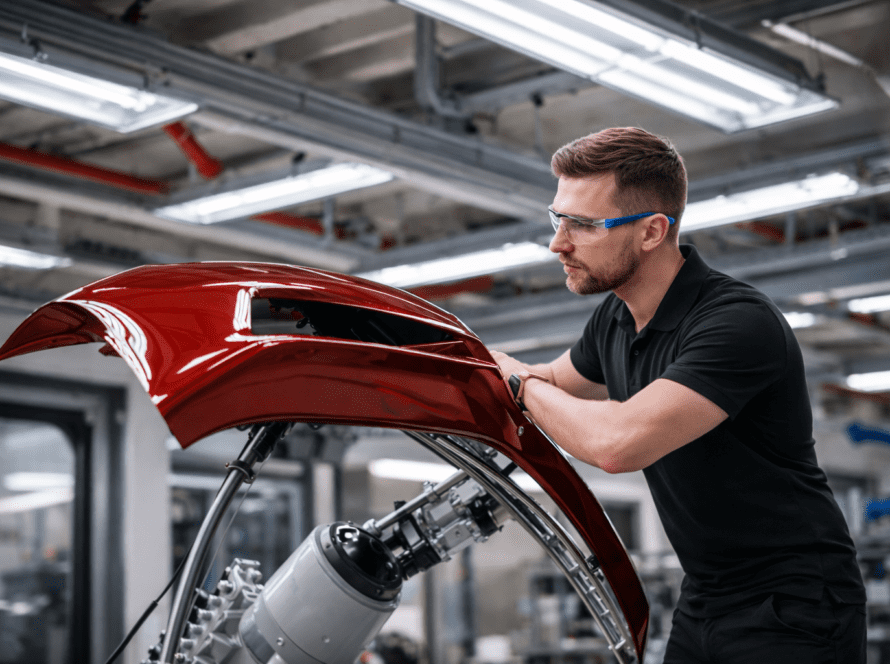
These systems conduct a real-time assessment during the course of production, enabling manufacturers to stop the line, rectify the issues, and carry on. This efficiency is a stark contrast to waiting for the finished product, potentially creating waste.
Some outstanding uses of laser profiling technology in control of automotive quality include:
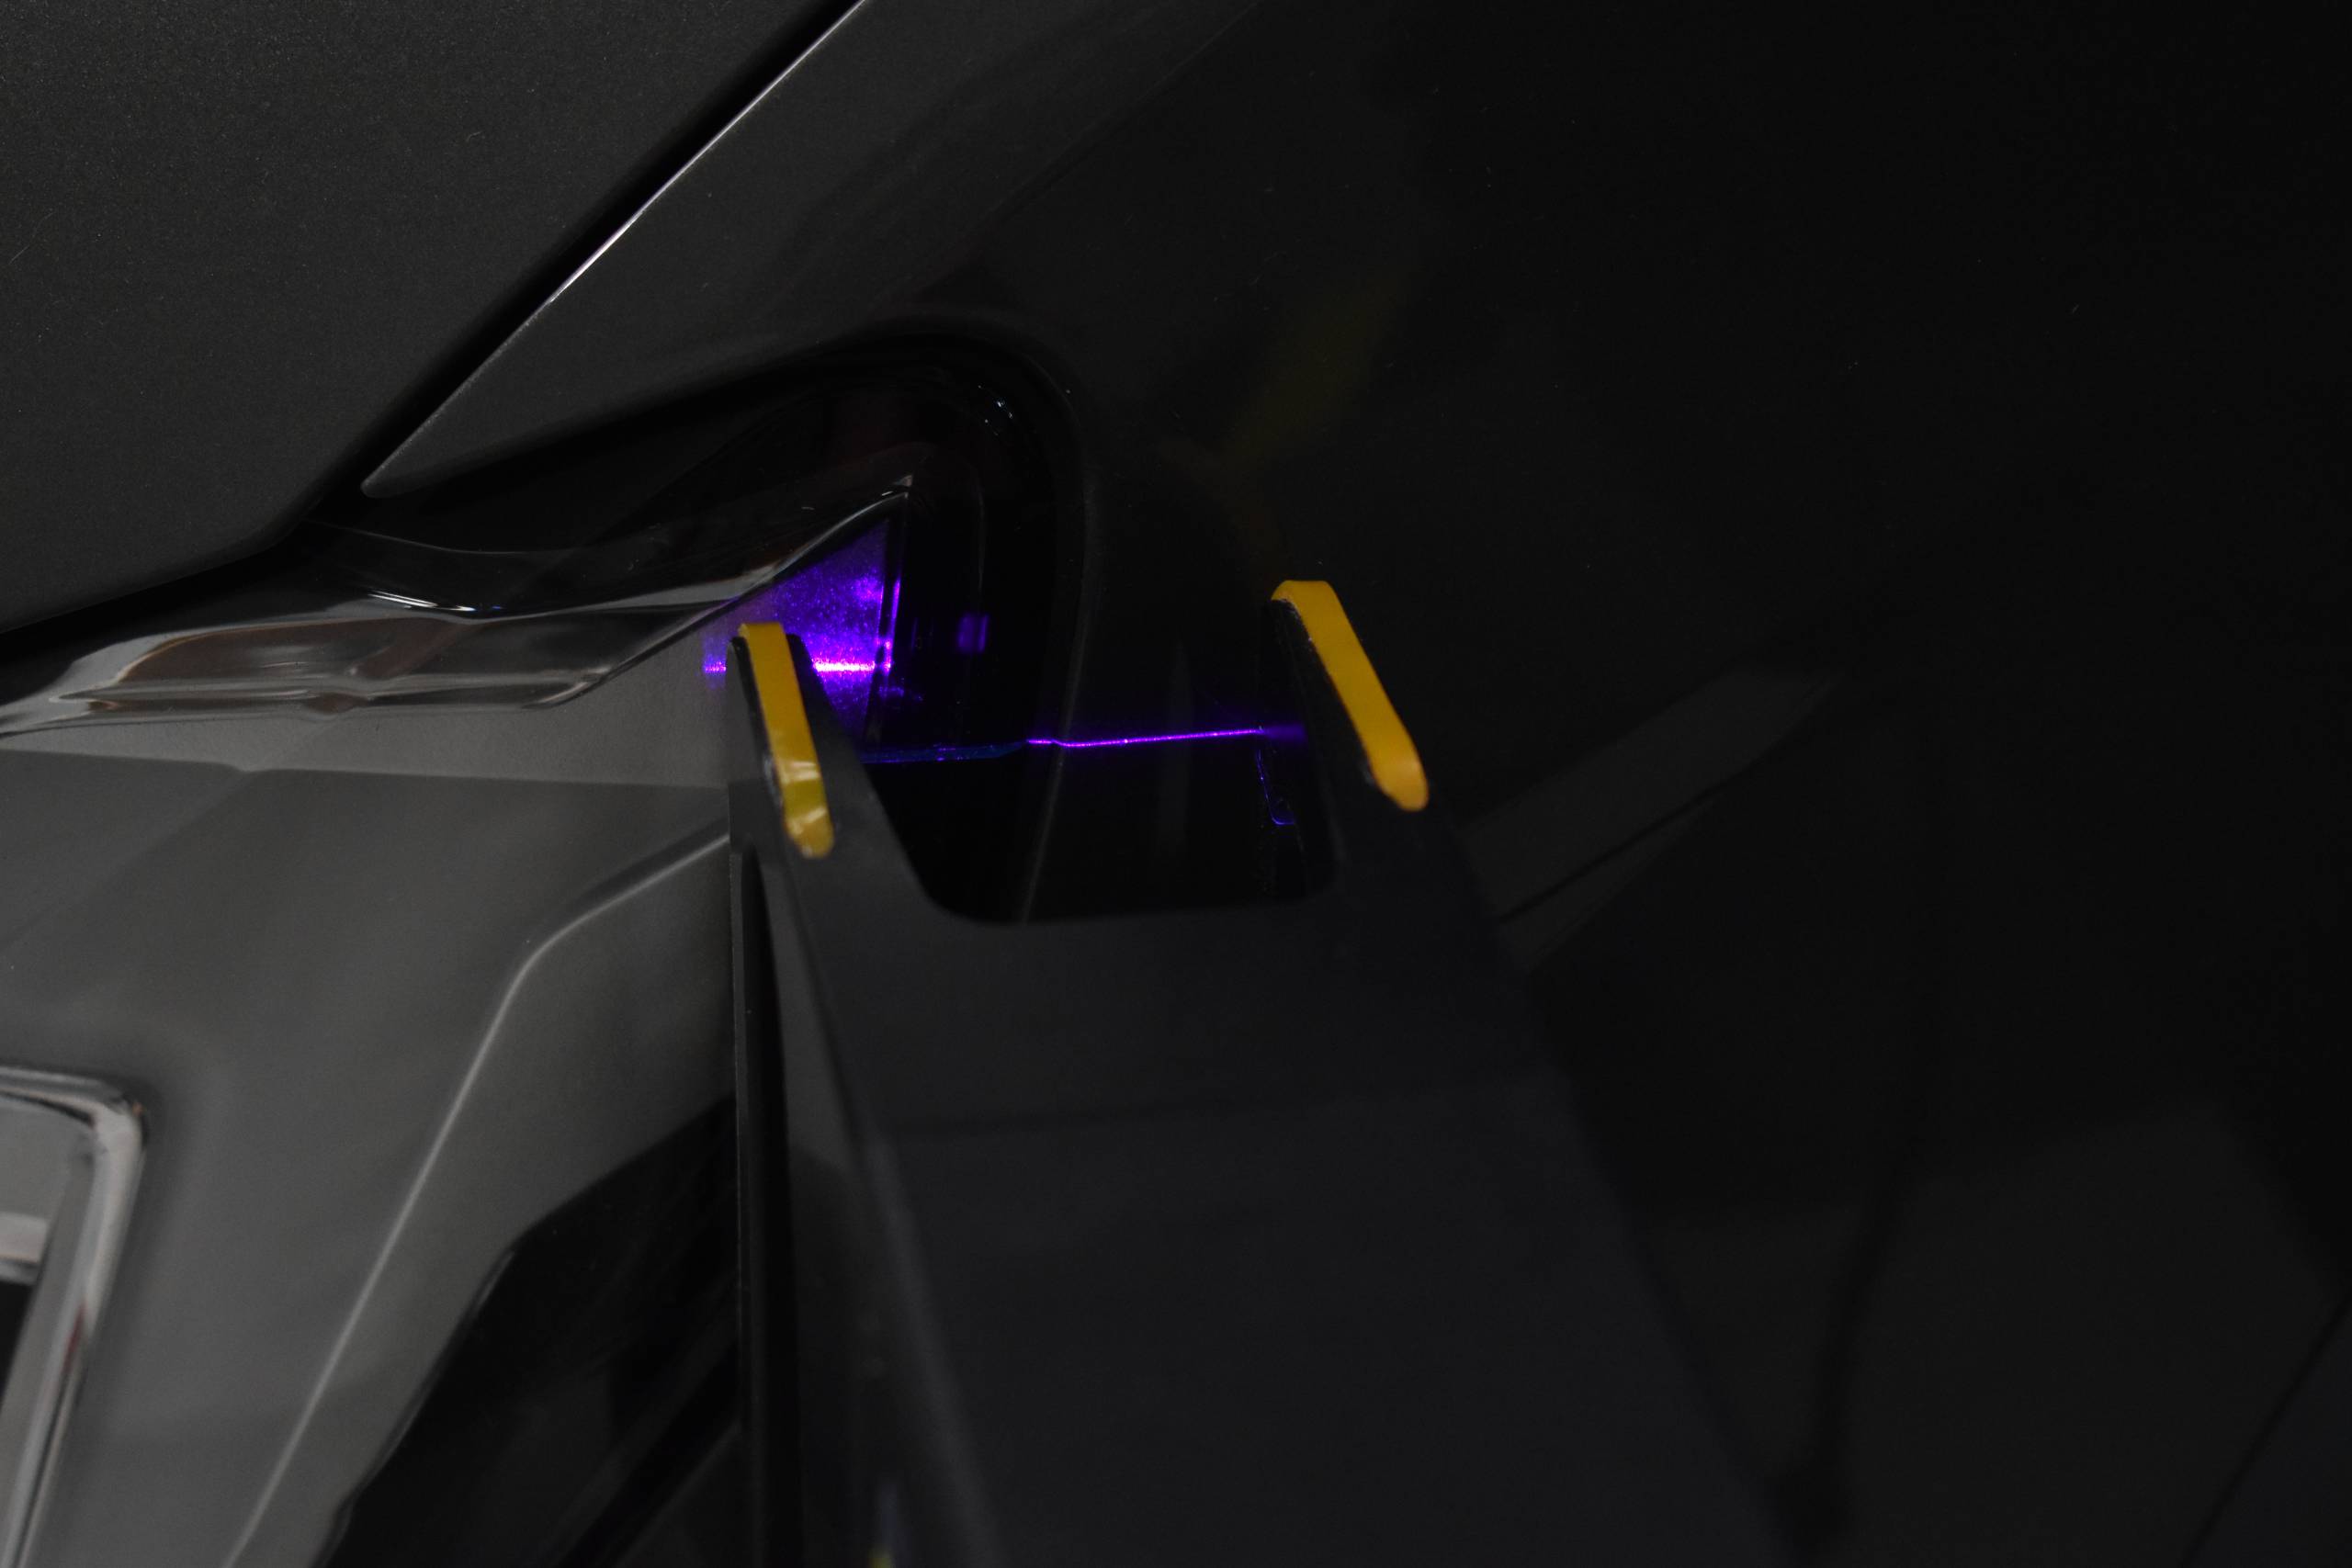
Gap & Flush Measurement: Ensure that there is an acceptable gap between any two surfaces in contact (i.e. car doors and enveloping frames) and that the two surfaces are flush aiding in optimised aerodynamic properties of the vehicular body (Central Laser Services, 2021).
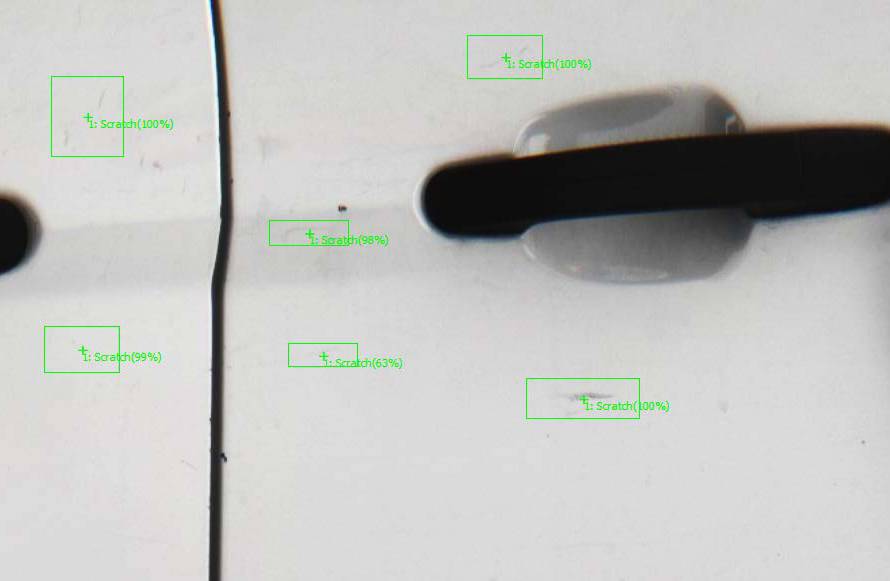
Surface Defect Detection: The blemishing of the vehicle’s surface will include detecting the presence of scratches, dents, or distortions that might occur on the surface of the vehicle’s components, especially those that are prominent and visible to the eye, to comply with cabin aesthetics and safety practices.
Robot Guidance: Introducing laser profilers to enhance the speed and precision of robots performing assembly operations, such as welding or part placement, and employing laser profile data to assist with the spatial positioning of components
Talking more about Gap & Flush Measurement…
Eines Vision Systems is pleased to present our metrology system for gauging gaps and flushing in construction. This ambient light device measures within a few minutes on the shop floor, making portable solutions suitable for automotive body shops and assembly lines. The system guarantees that the components are fitted neatly, enhancing the vehicle’s aesthetics and airflow dynamics.
Our handheld device is simple to use and fits into the current operation system. Consequently, it provides accurate information on the spot and makes corrections possible quickly. Be it body panels, doors, or any other elements, our instrument will ensure that everything is under your quality control.
Join Our Upcoming Virtual Event
We invite you to join us on November 5th at our inVISION #techtalks, where we will explore the future of laser profiling technology in the automotive sector. We will demonstrate the capabilities of our handheld system and discuss how this technology can revolutionise quality control processes in automotive production.


